


Published on: September 19, 2025 | Updated on: September 19, 2025
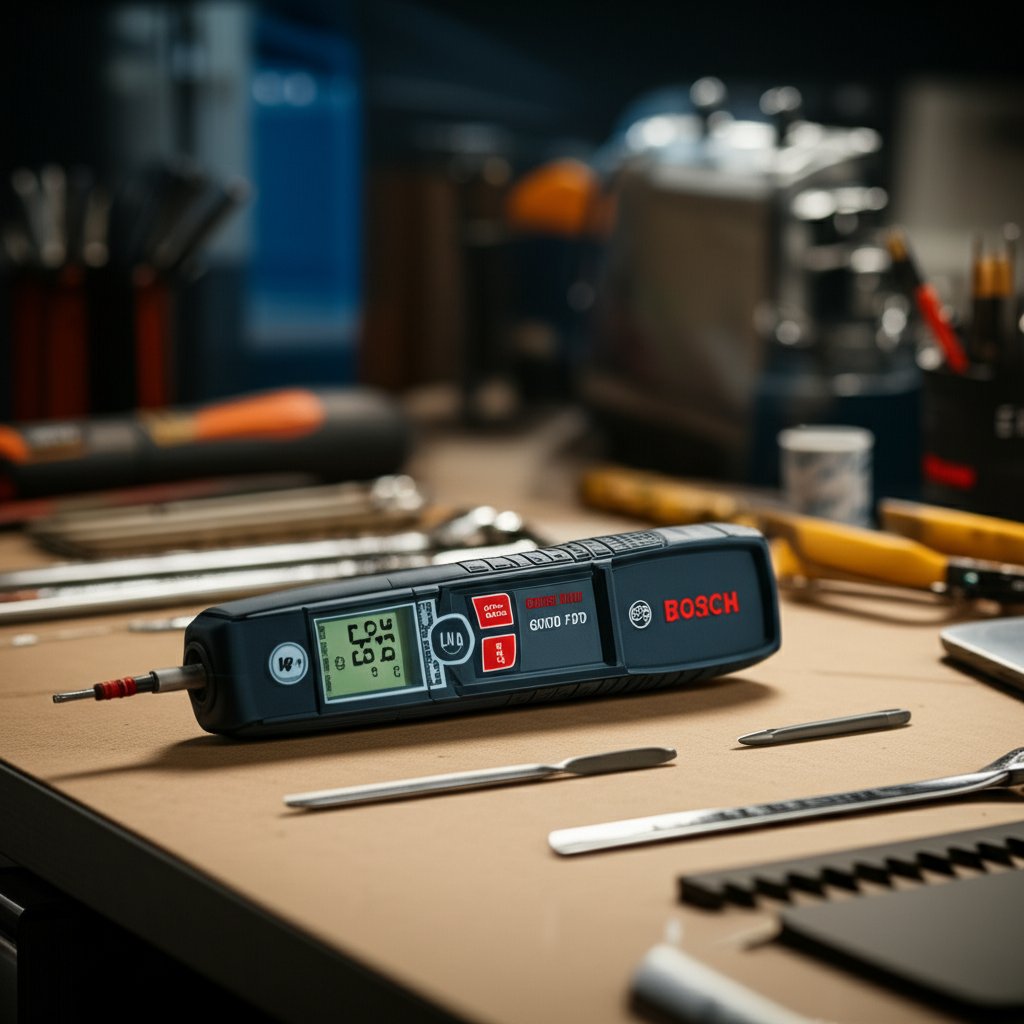
The Bosch GMS 120 Professional metal detector is a top-tier tool for locating studs, wires, and pipes within walls, offering reliable detection for DIYers and pros alike.
A frustrating hunt for what’s hidden behind your walls can lead to costly mistakes and unnecessary damage. Whether you’re a seasoned DIYer planning a renovation or a professional tradesperson, knowing what lies beneath the surface is crucial. This guide will walk you through the capabilities of the Bosch GMS 120 Professional metal detector, showing you how it can turn those frustrating searches into essential finds. We’ll explore its features, how to use it effectively, and why it’s a must-have for anyone working with walls and structures. Get ready to uncover the hidden elements with confidence.
Why the Bosch GMS 120 Professional is Your Wall-Scanning Ally
The Bosch GMS 120 Professional is more than just a stud finder; it’s a sophisticated multi-scanner designed to accurately locate various materials embedded within walls, ceilings, and floors. Its versatility makes it an indispensable tool for a wide range of tasks, from simple home repairs to complex construction projects. Understanding its capabilities is the first step to maximizing its potential and ensuring your projects run smoothly.
This device excels at identifying not only wooden and metal studs but also live AC wires and ferrous and non-ferrous metals. This comprehensive detection ability sets it apart from simpler stud finders, offering a more complete picture of what’s behind the drywall. It’s built with the professional in mind, ensuring durability and consistent performance even in demanding job sites.
Unpacking the Bosch GMS 120 Professional: Key Features Explained
The true strength of the Bosch GMS 120 Professional lies in its advanced sensor technology and user-friendly interface. It’s engineered to provide precise and reliable readings, minimizing false positives and helping you pinpoint targets with accuracy. This detailed understanding of its features will empower you to use it to its full potential.
It boasts three distinct detection modes: drywall, metal, and utility. Each mode is calibrated to optimize the detection of specific materials, ensuring you get the clearest signal possible for what you’re looking for. The intuitive LED indicator and audible warning signal further enhance usability, guiding you directly to your target.
Detection Modes: Drywall, Metal, and Utility

The Bosch GMS 120 Professional offers three primary detection modes, each tailored for specific applications. Understanding these modes is fundamental to achieving accurate results and avoiding confusion during operation. This allows for targeted scanning, significantly improving the reliability of the detected information.
Drywall Mode: This mode is specifically optimized for detecting wooden and metal studs within standard drywall. It helps you find the framing behind the wall, essential for hanging heavy items or planning renovations.
Metal Mode: Designed to detect both ferrous (iron, steel) and non-ferrous (copper, aluminum) metals. This is crucial for locating pipes, rebar, or metal studs that might not be picked up by drywall mode.
Utility Mode: This mode is designed to detect live AC electrical wiring in addition to metal objects. It’s a critical safety feature, warning you of potential electrical hazards before you drill or cut into a wall.
The Power of the Bosch Radar Technology
At the heart of the Bosch GMS 120 Professional is its advanced radar technology. This isn’t your average stud finder; it employs sophisticated sensors to scan deep into materials, providing a detailed map of what’s hidden. This technology is what allows it to differentiate between various materials with such precision.
The radar technology enables the device to scan up to 1.5 inches deep in drywall mode, and even deeper for metal detection. This depth capability is essential for thicker walls or when dealing with multiple layers of material. It ensures that you can detect objects that simpler devices would miss entirely.
Audible and Visual Indicators: Guiding Your Search
The Bosch GMS 120 Professional employs a combination of audible beeps and a visual LED indicator to guide you. These indicators work in tandem to provide clear and immediate feedback on detected objects. The clarity of these signals is paramount for accurate locating and safety.
The LED light ring changes color—green for no object detected, yellow for a potential object, and red for a confirmed object. Simultaneously, an audible signal intensifies as you get closer to the target. This dual feedback system makes it easy to pinpoint the exact location and center of an object.
Getting Started: Setting Up Your Bosch GMS 120 Professional
Setting up and calibrating your Bosch GMS 120 Professional is straightforward, ensuring you can begin scanning with confidence right away. Proper setup is key to achieving the accuracy the device is capable of. Following these simple steps will prepare you for your first successful scan.
Before you begin, ensure you have fresh batteries installed and that the device is clean and dry. A clean sensor surface is vital for accurate readings. Familiarize yourself with the button layout and the different modes to ensure you select the correct one for your task.
Battery Installation and Powering On
The GMS 120 Professional typically uses standard AA batteries. Proper battery installation ensures consistent power delivery, which is crucial for the device’s performance. Always check the battery level indicator to avoid interruptions during critical tasks.
To power on the device, press and hold the power button, usually located on the side or top. The device will then initiate a self-test, and the display will illuminate, indicating it’s ready for calibration. This quick startup process means you can begin scanning almost immediately.
Calibration: The Key to Accuracy
Calibration is the most critical step before each scan, especially when switching between materials or after the device has been idle. This process allows the GMS 120 Professional to establish a baseline reading of the material it’s scanning. Skipping or rushing this step can lead to inaccurate results.
To calibrate, place the device flat against the wall surface where you intend to scan. Ensure there are no objects or studs directly under the scanning area for this initial calibration. Press and hold the center button until the device beeps and the LED indicator turns green, signifying successful calibration.
Mastering the Scan: How to Use the Bosch GMS 120 Professional Effectively
Using the Bosch GMS 120 Professional effectively involves a systematic approach to scanning and interpreting the results. It’s not just about moving the device; it’s about understanding the feedback it provides and how to leverage that information. Mastering these techniques will significantly improve your success rate.
Always start by calibrating the device on a clear section of the wall. Then, slowly and steadily move the scanner across the area you want to investigate. Avoid jerky movements, as these can lead to inconsistent readings.
The Scanning Process: Step-by-Step
Scanning with the GMS 120 Professional is an intuitive process, but a methodical approach ensures the best outcomes. Following these steps will help you get the most reliable readings possible. This systematic method is crucial for accurate detection.
1. Calibrate: Place the device on the wall, away from any detected objects, and press the center button until calibration is complete.
2. Scan Horizontally: Slowly slide the device horizontally across the wall. Watch and listen for changes in the LED indicator and audible signals.
3. Scan Vertically: Once you detect a potential object, repeat the horizontal scan above and below the detected area. Then, scan vertically across the detected area to confirm its presence and determine its width.
4. Mark the Object: Use a pencil to mark the edges of the detected object as indicated by the device. The center of the object is usually indicated by a specific marker on the device or when the signal is strongest.
5. Confirm with Multiple Scans: For critical tasks, perform multiple scans in different directions to confirm the object’s location and dimensions. This redundancy builds confidence in your findings.
Interpreting the Signals: What the Lights and Sounds Mean
Understanding the feedback from the Bosch GMS 120 Professional is essential for accurate detection. The combination of visual and auditory cues provides a clear indication of what lies beneath the surface. Learning to interpret these signals will prevent confusion and errors.
Green LED: Indicates no object detected or that the device is properly calibrated.
Yellow LED: Signals a potential object has been detected. The closer you are, the stronger the signal.
Red LED: Confirms the presence of an object. The center of the object is typically found when the signal is strongest and the LED is fully red.
* Audible Beep: The frequency and intensity of the beep increase as you approach an object. A continuous beep usually indicates you are directly over the center of the detected item.
Dealing with Different Wall Materials
The Bosch GMS 120 Professional is designed to work with a variety of wall materials, but understanding how they affect detection is important. Different densities and compositions can influence how signals are transmitted and received. This knowledge helps in troubleshooting and refining your scanning technique.
Drywall is the most common material and is handled well by the device’s default settings. For concrete or plaster walls, which are denser, you might need to perform multiple passes or adjust your scanning speed. The device’s robust sensor technology generally compensates for most common wall types, but always test on a known area first if possible.
Essential Finds: What Can You Locate with the Bosch GMS 120 Professional?
The Bosch GMS 120 Professional isn’t just for finding studs; its capabilities extend to a variety of critical and potentially hazardous items hidden within walls. Knowing what you can find makes it an invaluable tool for safety and planning. These essential finds can prevent accidents and costly mistakes.
This device is your go-to for safely planning any project involving drilling, cutting, or mounting on walls. It provides peace of mind by revealing what you should avoid or account for. Its multi-material detection is what truly sets it apart in the field.
Studs: Wood and Metal
Locating studs is perhaps the most common use for this device, essential for hanging shelves, mounting TVs, or building structures. The GMS 120 Professional accurately identifies both wooden and metal studs behind various wall coverings. This ensures a secure mounting point for anything you need to attach.
Finding studs is straightforward in drywall mode. The device will clearly indicate the edges and center of each stud. This precision is vital for ensuring that your attachments are anchored securely to the framing.
Live AC Wires: A Critical Safety Feature
The ability to detect live AC wires is arguably the most important safety feature of the Bosch GMS 120 Professional. Encountering a live wire can be extremely dangerous, leading to electrocution or fire. This mode provides a crucial warning before you drill into a potentially hazardous situation.
Always use the Utility Mode when you suspect electrical wiring might be present. The device will alert you with a distinct signal, allowing you to reroute your work or call a professional electrician. Never proceed with drilling if the device indicates the presence of a live wire.
Ferrous and Non-Ferrous Metals: Pipes and More
Beyond studs, the device can detect various metal objects, including copper pipes, aluminum conduits, and steel rebar. This is crucial for plumbing, HVAC work, and even structural inspections. Knowing where these elements are located prevents accidental damage and costly repairs.
The Metal mode is your key to finding these hidden metallic components. It’s particularly useful in older homes where plumbing and wiring might be less standardized. Accurate detection here ensures you don’t puncture a water pipe or damage other vital infrastructure.
Bosch GMS 120 Professional vs. Other Detectors: A Comparative Look
When choosing a wall scanner, the Bosch GMS 120 Professional stands out due to its combination of features, accuracy, and professional-grade build. While many simpler stud finders exist, few offer the comprehensive detection capabilities of the GMS 120. Understanding these differences highlights its value.
Many basic stud finders rely on magnetic or edge-detection methods, which are less precise and can be prone to errors. The Bosch GMS 120 Professional, with its radar technology, offers a more sophisticated and reliable scanning experience. This advanced technology translates to fewer false positives and greater confidence in your findings.
| Feature | Bosch GMS 120 Professional | Basic Magnetic Stud Finder | Basic Electronic Stud Finder |
| :—————— | :————————- | :————————- | :————————— |
| Detection Method | Radar Technology | Magnetic Field | Capacitive/Edge Detection |
| Material Detection | Wood, Metal, Live AC | Metal Studs Only | Wood/Metal Studs |
| Depth Detection | Up to 1.5″ (Drywall) | Varies | Up to 1″ |
| Accuracy | High | Moderate | Moderate |
| Ease of Use | User-friendly | Very Easy | Easy |
| Price | Professional | Entry-level | Mid-range |
| Safety Features | Live AC Wire Detection | None | None |
As you can see, the Bosch GMS 120 Professional offers a significantly more advanced feature set compared to basic stud finders. This makes it a worthwhile investment for anyone who requires high accuracy and comprehensive detection capabilities for their projects.
Tips for Maximizing Your Finds and Ensuring Safety
To truly get the most out of your Bosch GMS 120 Professional and maintain safety, a few best practices can make a big difference. These tips are born from practical experience and help avoid common pitfalls. Implementing them will enhance your efficiency and confidence.
Always remember that the GMS 120 Professional is a tool to aid your judgment, not replace it entirely. Understanding the context of your wall and the potential for hidden utilities is key. Never rely solely on the device without applying common sense and caution.
Pre-Scan Wall Assessment
Before even powering on your device, take a moment to assess the wall you’re working with. Look for clues like the location of outlets, switches, plumbing fixtures, or light fixtures. These elements can indicate the likely pathways of wires and pipes.
Consider the age and construction of the building. Older homes may have more unpredictable wiring and plumbing configurations. Newer constructions might have more standardized layouts, but it’s always best to be thorough.
Maintaining a Steady Hand and Slow Pace
The accuracy of the Bosch GMS 120 Professional is directly related to how steadily and slowly you move it across the wall. Rapid or jerky movements can confuse the sensors, leading to inaccurate readings or missed detections. Patience is a virtue when using this device.
Slide the scanner smoothly, without lifting it from the wall surface. Imagine you’re painting a line; maintain consistent contact and speed. This smooth motion allows the sensors to gather continuous and reliable data.
Understanding Limitations and When to Call a Pro
While the Bosch GMS 120 Professional is highly capable, it’s important to recognize its limitations. It’s designed for common wall materials and depths, but extremely dense materials or very deep objects might pose challenges. Furthermore, its primary function is detection, not diagnosis of complex electrical or plumbing issues.
If you encounter persistent confusing readings, suspect a major utility line, or are unsure about the safety of proceeding, it’s always best to consult with a qualified professional. Electricians and plumbers have specialized tools and expertise for complex situations. Your safety is paramount.
Troubleshooting Common Issues with the Bosch GMS 120 Professional
Even the best tools can sometimes present challenges. Understanding how to troubleshoot common issues with your Bosch GMS 120 Professional will save you time and frustration. Most problems are easily resolved with a few simple checks.
Often, issues stem from calibration errors, battery problems, or environmental factors. By systematically addressing these potential causes, you can quickly get your device back to optimal performance. This proactive approach ensures you can rely on your tool when you need it most.
False Positives and False Negatives
False positives (detecting something that isn’t there) and false negatives (missing something that is there) can occur. These are often caused by improper calibration, scanning too quickly, or encountering unusual wall compositions. Re-calibrating and scanning slower are the first steps to correcting these.
Ensure you are in the correct detection mode for the material you are seeking. For instance, trying to find a metal pipe using only drywall mode will likely result in a false negative. Always double-check your mode selection and re-calibrate frequently.
Device Not Turning On or Responding
If your Bosch GMS 120 Professional refuses to turn on or becomes unresponsive, the most common culprit is the battery. Ensure the batteries are new, correctly inserted, and making good contact. Sometimes, simply removing and reinserting the batteries can resolve minor glitches.
If battery replacement doesn’t solve the issue, there might be a more significant internal problem. In such cases, contacting Bosch customer support or a certified repair center is advisable. Do not attempt to disassemble the device yourself, as this may void the warranty.
Inconsistent or Unclear Readings
Inconsistent or unclear readings can be frustrating, making it difficult to pinpoint objects accurately. This often happens if the device is moved too quickly, if the wall surface is uneven, or if there are multiple objects very close together. Slowing down your scan and ensuring firm, consistent contact with the wall is crucial.
If you’re scanning over a very large metal object, like a metal stud finder, the device might struggle to differentiate edges clearly. In such cases, try scanning from different angles or in smaller increments. For very complex wall structures, consider using the device in conjunction with other methods or tools.
Frequently Asked Questions about the Bosch GMS 120 Professional
Here are some common questions beginners often have about using the Bosch GMS 120 Professional. Addressing these will help clarify its operation and capabilities. Understanding these points will boost your confidence in using the tool.
What is the maximum detection depth of the Bosch GMS 120 Professional?
The detection depth varies by mode. In drywall mode, it can detect objects up to approximately 1.5 inches (38 mm) deep. For metal detection, it can scan even deeper, depending on the size and type of metal object.
Can the Bosch GMS 120 Professional detect plastic pipes?
No, the Bosch GMS 120 Professional is designed to detect metal and live AC wires, as well as wooden studs. It cannot detect non-metallic objects like plastic pipes. For plastic pipes, you would need a specialized pipe detector.
How often should I calibrate the device?
It is best practice to calibrate the Bosch GMS 120 Professional before each new scanning session and whenever you move to a different area of the wall or switch detection modes. Consistent calibration is key to accurate readings.
Is the Bosch GMS 120 Professional suitable for outdoor use?
The Bosch GMS 120 Professional is primarily designed for indoor use on walls, ceilings, and floors. It is not intended for ground searching for buried metal objects like a traditional metal detector. For outdoor treasure or relic hunting, a dedicated outdoor metal detector is required.
What is the difference between Metal Mode and Utility Mode?
Metal Mode is for detecting both ferrous (iron, steel) and non-ferrous (copper, aluminum) metals. Utility Mode is specifically designed to detect live AC electrical wires in addition to metal objects, making it a critical safety mode.
Can I use the Bosch GMS 120 Professional on concrete walls?
Yes, the GMS 120 Professional can be used on concrete walls, but its performance may vary depending on the density and reinforcement of the concrete. For very dense concrete, you might need to perform multiple passes and ensure thorough calibration.
Conclusion: Essential Finds with the Bosch GMS 120 Professional
The Bosch GMS 120 Professional is an exceptional tool that brings clarity and safety to projects involving walls. Its advanced radar technology, versatile detection modes, and user-friendly interface make it a standout choice for both professionals and serious DIYers. From locating crucial structural elements like studs to identifying potentially hazardous live wires and hidden pipes, this device ensures you have the information needed to work with confidence.
By understanding its features, mastering its calibration and scanning techniques, and heeding its safety warnings, you can transform frustrating guesswork into essential finds. The Bosch GMS 120 Professional is more than just a detector; it’s a partner in ensuring your projects are executed safely and efficiently, preventing costly mistakes and protecting you from hidden dangers. Make the Bosch GMS 120 Professional a staple in your toolkit for truly essential finds.
