


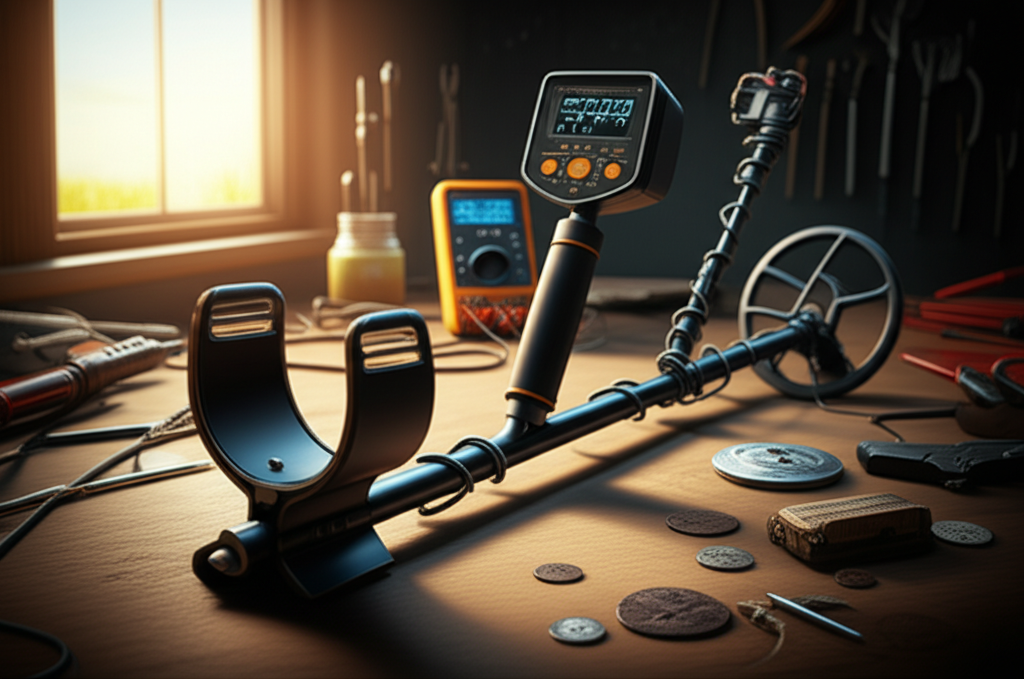
Published on: November 4, 2025 | Updated on: November 4, 2025
Metal Detector DIY: Ultimate Hidden Treasures Revealed
Build your own metal detector for a fraction of the cost and unearth hidden treasures. This guide covers essential DIY steps, tools, and tips for successful treasure hunting.
Metal detecting is a fantastic hobby. Many people want to try it but find detectors expensive. Building your own metal detector can be a rewarding project. It lets you learn how they work. You can also save a lot of money. This guide will show you how to make a simple metal detector. We will cover the parts you need. We will also explain how to put it together. Get ready to find some amazing things.
Why Build a Metal Detector Yourself?
Building a metal detector offers unique advantages. It’s a great way to understand the technology behind treasure hunting. This knowledge can help you use commercial detectors better. DIY projects often cost less than buying a ready-made one. You can customize your detector for specific needs. This makes it a personalized tool for your adventures.
Cost Savings
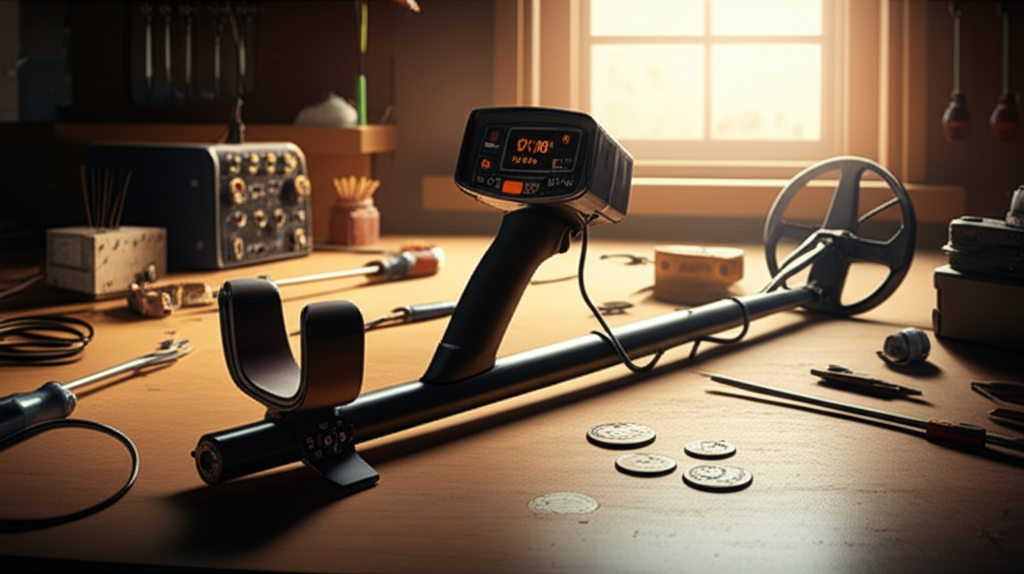
Commercial metal detectors can cost hundreds or even thousands of dollars. Building one yourself uses readily available electronic components. These parts are much cheaper. You can create a functional detector for a small fraction of the retail price. This makes the hobby accessible to more people.
Learning and Understanding
Assembling a metal detector from scratch is a hands-on learning experience. You’ll learn about circuits, coils, and how they detect metal. This understanding deepens your appreciation for the hobby. It also helps you troubleshoot issues if they arise. Knowing how your detector works is a big advantage.
Customization Options
When you build your own detector, you can tailor it. You can choose different coil sizes for different depths. You might want to adjust sensitivity settings. Perhaps you want a lighter design for long hunts. DIY allows you to make these changes easily. Your detector becomes perfectly suited to your hunting style.
Understanding Basic Metal Detector Principles
Metal detectors work using electromagnetic fields. A coil in the detector creates a magnetic field. When this field hits a metal object, it creates a small electrical current. The detector senses this current. It then signals you with a sound or light. Different types of detectors use slightly different methods. For a DIY project, we will focus on a simple beat-frequency oscillator (BFO) design. This is one of the easiest types to build.
How a BFO Detector Works
A BFO metal detector uses two oscillators. An oscillator is a circuit that produces a regular signal, like a hum. One oscillator has a fixed frequency. The other oscillator’s frequency changes when metal is near its coil. When the frequencies of both oscillators are different, you hear a tone. The closer the metal, the bigger the frequency difference. This makes the tone louder or higher.
The Role of the Search Coil
The search coil is the most important part. It’s usually a flat, circular coil of wire. This coil generates the magnetic field. It also detects the changes caused by metal objects. The size and shape of the coil affect what the detector can find. A larger coil can detect deeper objects. Smaller coils are better for small items or in tight spaces.
Essential Components for Your Metal Detector DIY Project
Gathering the right parts is the first step. You don’t need many complex items. Most of these can be found at electronic stores or online. We will focus on a simple BFO circuit. This requires a few basic electronic components. Having a list helps ensure you don’t miss anything.
Electronic Parts List
Transistors: You’ll need a few transistors (like 2N3904 or similar). These act as switches and amplifiers for the electronic signals.
Capacitors: Various small capacitors are needed to store and release electrical energy.
Resistors: These control the flow of electricity in the circuit.
Potentiometer: This is a variable resistor. It allows you to adjust the sensitivity.
IC (Integrated Circuit) Timer: A common chip like a NE555 timer can be used. It helps create the oscillating signals.
Speaker or Headphones: To hear the detection signal.
Battery: A 9V battery is usually sufficient.
Wire: For making the coil and connecting components.
Printed Circuit Board (PCB) or Perfboard: To mount and connect the electronic parts.
Coil Construction Materials
Insulated Copper Wire: Enameled copper wire is ideal for winding the search coil. The gauge (thickness) matters. Around 26-30 AWG is common.
Coil Former: A plastic or cardboard ring to wind the wire around. This gives the coil its shape.
Shielding: Aluminum foil can be used to shield the coil from external interference.
Enclosure: A waterproof plastic box for the electronics.
Tools You Will Need
Soldering Iron and Solder: To connect the electronic components.
Wire Strippers: To remove insulation from wires.
Pliers: For bending and cutting wires.
Screwdriver: For assembly.
Drill: To make holes for controls and wires.
Multimeter: To test connections and component values.
Hot Glue Gun: For securing parts.
Step-by-Step Guide: Building Your Metal Detector
Putting together a metal detector can seem daunting. But if you follow the steps carefully, it’s manageable. We will build a simple BFO detector. This design is great for beginners. Safety first: always work in a well-ventilated area when soldering.
Step 1: Prepare the Search Coil
First, create the search coil. Get a plastic or sturdy cardboard ring. The size can vary, but 6-8 inches in diameter is a good start. Wind the insulated copper wire around the ring. Make sure to wind it neatly. About 50-70 turns are usually enough for a 6-inch coil. Leave about 6 inches of wire at the beginning and end. Secure the windings with tape or hot glue. You can add a layer of aluminum foil around the windings for shielding. Cover this with another layer of tape.
Step 2: Assemble the Electronic Circuit
You will need a circuit diagram for your BFO detector. Search online for “simple BFO metal detector schematic.” Many free diagrams are available. Carefully solder the electronic components onto the perfboard or PCB. Follow the diagram precisely. Pay attention to the orientation of components like transistors and ICs. Connect the wires from the search coil to the correct points on the circuit board.
Step 3: Connect the Controls and Speaker
Mount the potentiometer, battery connector, and speaker onto a small project box. This box will house the electronics. Drill holes for these components and wires. Connect the potentiometer to the circuit board. This will be your sensitivity control. Connect the speaker or headphone jack. Solder wires from the circuit board to these components. Ensure all connections are secure.
Step 4: Power Up and Test
Connect the 9V battery. Turn on the potentiometer. You should hear a tone from the speaker. If you don’t hear anything, double-check your soldering and component placement. Adjust the potentiometer slowly. If you hear a constant tone, you may need to fine-tune the coil or circuit. Bring a metal object, like a coin or keys, near the search coil. The tone should change. This indicates your detector is working.
Step 5: Mount and Enclose Everything
Once the circuit is working, mount it inside the project box. Secure the search coil to a handle or stick. You can use PVC pipes to create a sturdy handle. Attach the project box to the handle. Ensure wires are protected and not stressed. Use hot glue or zip ties to keep things tidy. Your DIY metal detector is now ready for its first hunt.
Choosing the Right Search Coil for Your Project
The search coil is critical for performance. Different coil sizes and types detect different things. For a DIY project, a simple, single-coil design is easiest. However, understanding coil choices helps. You can even upgrade your DIY detector later with a better coil.
Coil Size and Depth
Larger diameter coils generally detect deeper targets. However, they are less sensitive to small objects. They also have a wider sweep area. Smaller coils are better for pinpointing targets. They are also more sensitive to small items like gold nuggets or small coins. For general treasure hunting, a 6-8 inch coil is a good balance.
Coil Types
There are different coil shapes and designs. Monoloop (M) coils are simple and common. Double-D (DD) coils offer better ground balancing and target separation. For a DIY build, a simple monoloop is the most straightforward to wind and connect. DD coils are more complex to build correctly.
Troubleshooting Common DIY Metal Detector Issues
Even with careful work, you might run into problems. Don’t get discouraged. Most issues are fixable with a little patience. Common problems often relate to connections or component placement.
No Sound or Weak Signal
Check your battery. Ensure it’s charged and connected correctly. Inspect all solder joints for cold joints or bridges. Verify component orientation. Double-check the wiring against your schematic. Make sure the speaker or headphones are working.
False Signals or Instability
This can be caused by interference. Ensure your search coil is properly shielded. Keep the coil away from power lines or metal structures. Adjusting the sensitivity potentiometer can also help. Sometimes, the coil winding might be uneven, causing instability.
Detector Not Responding to Metal
Re-check the connections from the coil to the circuit board. Ensure the coil itself is wound correctly and the wire is not broken. Test individual components if possible using a multimeter. The oscillator circuits might not be working correctly.
Enhancing Your DIY Metal Detector
Once your basic detector is working, you can think about improvements. These enhancements can make your treasure hunting more effective. They also add to the satisfaction of your project.
Adding a Ground Balance Feature
Ground minerals can cause false signals. Ground balancing helps the detector ignore these minerals. This is a more advanced circuit. Adding it might require a different schematic and more components. It significantly improves performance in mineralized soil.
Improving Sensitivity and Selectivity
You can experiment with different coil sizes. A larger coil might find deeper items. A smaller coil can help distinguish between different types of metal. Some advanced circuits offer better selectivity. This means the detector can ignore trash items like iron.
Waterproofing Your Detector
If you plan to hunt near water or in wet conditions, waterproofing is essential. Seal the electronics box thoroughly. Use waterproof connectors if possible. The search coil itself is often already somewhat water-resistant.
Where to Find Schematics and Resources
Finding good schematics is key. Many websites offer free DIY electronics projects. Look for well-documented projects. Read comments and forums for tips.
Electronics Hobbyist Websites: Many sites cater to DIY electronics. They often have forums where you can ask questions.
YouTube Tutorials: Video guides can be very helpful. Seeing someone build it makes it easier to follow.
* Online Electronics Retailers: Some retailers offer project ideas and parts lists.
Here is a great resource for electronic project ideas: All About Circuits. They have many tutorials and forums.
Another excellent source for hobbyist electronics is Instructables. You can find detailed guides there.
Using Your DIY Metal Detector Effectively
Building the detector is only half the fun. Knowing how to use it well is crucial for finding treasures. Practice makes perfect. Learn to interpret the signals your detector gives you.
Choosing Your Hunting Location
Old parks, beaches, and historical sites are great places. Always get permission before detecting on private property. Public lands have regulations; check them first. Areas where people have gathered over time are more likely to have lost items.
Sweep Techniques
Move the coil slowly and steadily. Overlap each sweep to cover the area thoroughly. Keep the coil as close to the ground as possible without hitting it. A consistent sweep pattern is key to not missing targets.
Interpreting Signals
Listen carefully to the tone. A steady, clear tone usually means a good target. A choppy or inconsistent tone might be trash or mineralized ground. Some detectors have visual displays that show target IDs. With a simple BFO, you rely mostly on sound.
Digging Your Finds
Once you get a strong signal, it’s time to dig. Use a small shovel or trowel. Dig a neat plug of soil. Carefully examine the plug and the hole. If the target isn’t there, check the surrounding area. Always fill your holes neatly. Leave the site as you found it.
Safety and Ethical Considerations
Metal detecting is a responsible hobby. Always follow local laws and regulations. Respect private property. Never disturb historical sites without proper authorization. Leave no trace of your activity.
Respecting Property Rights
Always seek permission before detecting on private land. Trespassing can lead to legal trouble. Many landowners are happy to grant access if you are respectful.
Environmental Responsibility
Fill in all holes you dig. This prevents accidents and keeps the environment clean. Take any trash you find with you. Leave sites better than you found them.
Understanding Regulations
Some areas prohibit metal detecting. This includes parks, historical monuments, and protected natural reserves. Research local laws before you go. Ignorance is not an excuse.
Frequently Asked Questions About Metal Detector DIY
What is the easiest metal detector circuit to build?
The Beat-Frequency Oscillator (BFO) circuit is generally the easiest. It uses fewer components and is straightforward to assemble.
How deep can a DIY metal detector find things?
A simple DIY detector can typically find coins and small objects a few inches deep. Larger coils or more advanced designs can reach further.
Do I need a special license to metal detect?
In most places, you don’t need a license for recreational metal detecting on public lands. However, always check local regulations. Some areas may have restrictions.
What is the best type of wire for a search coil?
Enameled copper wire, often called magnet wire, is best. The enamel provides insulation. A gauge between 26 and 30 AWG is common for DIY coils.
Can I use a DIY metal detector to find gold?
Finding gold with a simple DIY detector is challenging. Gold nuggets are small and often found in mineralized soil. More advanced detectors with specific gold prospecting modes are better suited.
How do I shield my DIY metal detector coil?
Wrap the coil windings with a layer of aluminum foil. Connect the foil to the ground side of the circuit. This helps block external electromagnetic interference.
Is it cheaper to build a metal detector than buy one?
Yes, generally, building a simple DIY metal detector is significantly cheaper. You can often build one for under $50, while commercial detectors start at $100-$200 and go much higher.
Conclusion: Your Treasure Hunting Journey Begins
Building your own metal detector is a fulfilling project. It’s a cost-effective way to enter the exciting world of treasure hunting. With basic tools and electronic parts, you can create a functional device. This metal detector DIY journey teaches you valuable skills. It also opens up possibilities for exciting discoveries. From old coins to forgotten relics, your next find might be just a sweep away. So gather your components, follow the steps, and start exploring. Happy hunting.
